The Ultimate Guide to the DJI RS 3 Mini: How to Elevate Your Mirrorless Videography
Disclaimer: This post contains affiliate links. If you make a purchase through these links, I may earn a small commission at no extra cost to you. This helps support the site and allows me to continue providing in-depth reviews and guides!
If you shoot video on a mirrorless camera, you already know the struggle: you want cinematic, buttery-smooth footage, but you don’t want to haul around a heavy, complicated gimbal setup that requires a PhD to balance. Enter the DJI RS 3 Mini.
Designed specifically for travel videographers, solo creators, and wedding shooters in the USA, this lightweight stabilizer has completely disrupted the market. In this deep-dive review and guide, we’re going to break down exactly how to use it, compare it to its bigger siblings, and help you decide if it deserves a spot in your camera bag.
Deep-Dive Review: Why the DJI RS 3 Mini is a Game Changer
Before the RS 3 Mini, creators had to choose between smartphone gimbals (too weak) or professional cinema gimbals (too heavy and expensive). Here is why the RS 3 Mini hits the perfect sweet spot:
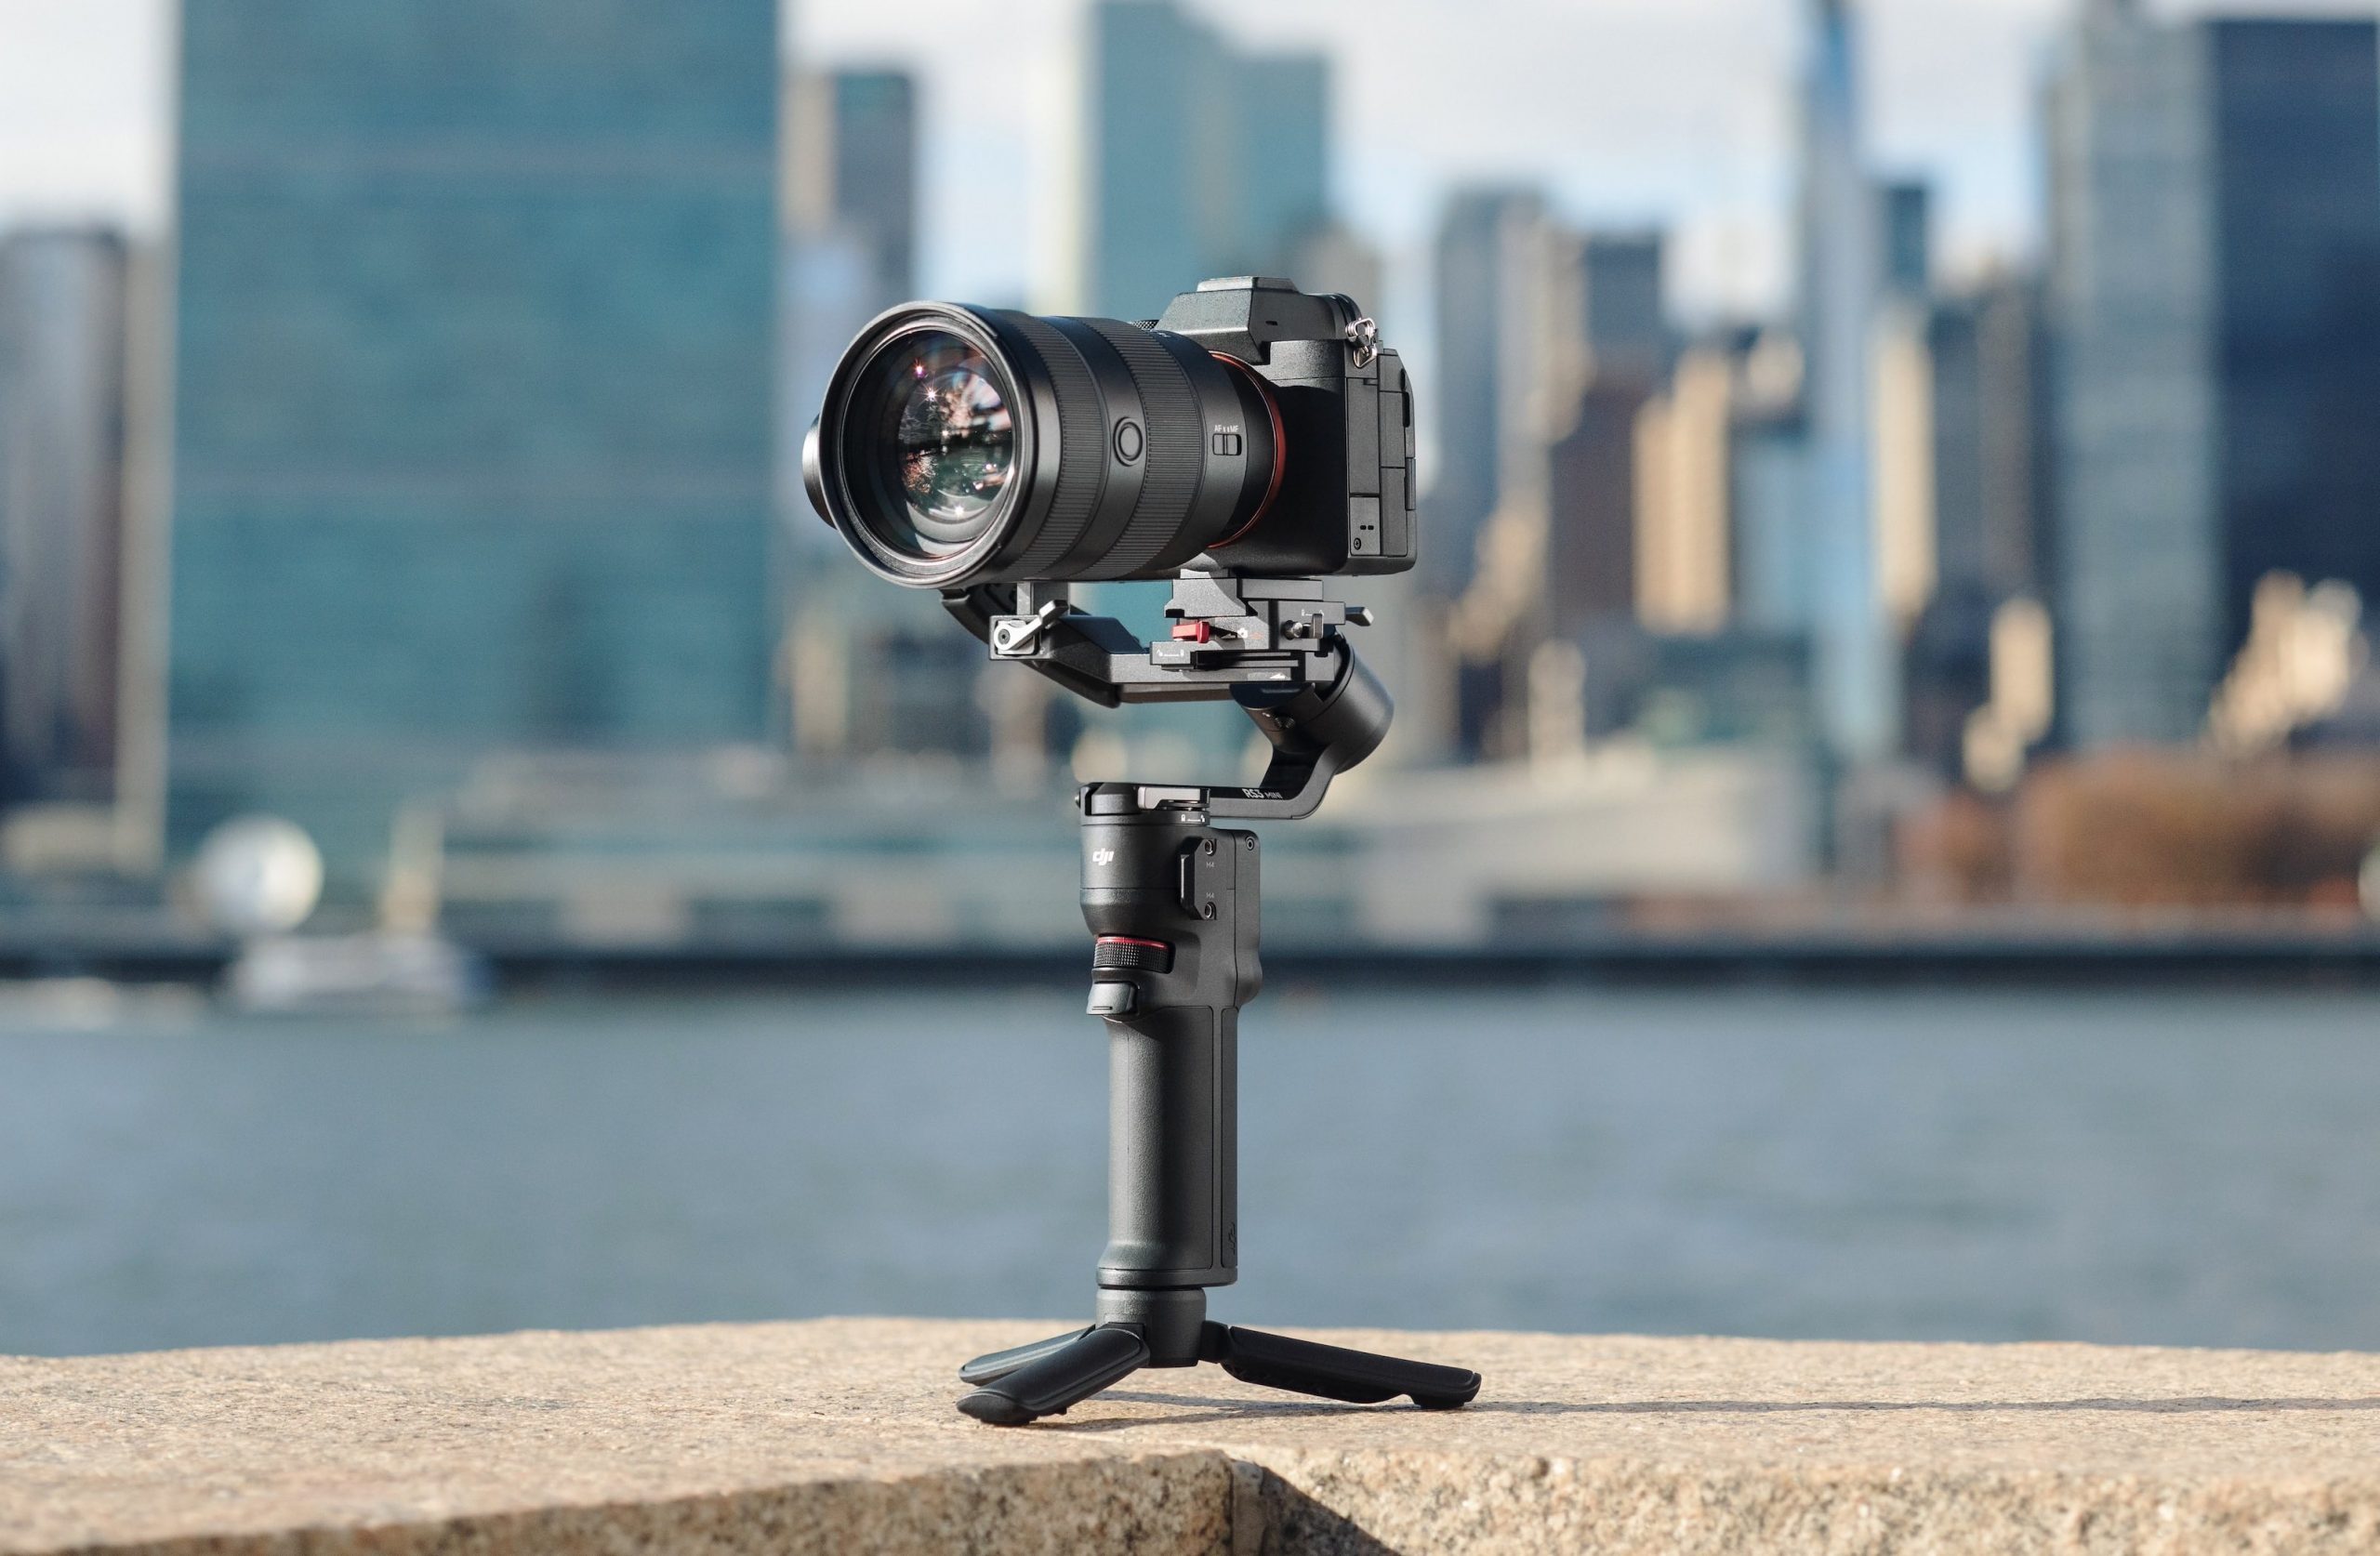
- Unbelievably Lightweight: Weighing in at just 1.7 lbs (795g) in Portrait mode, it is about 50% lighter than the RS 3 Pro. You can run and gun all day without wrist fatigue.
- Impressive Payload Capacity: Despite its size, it supports up to 4.4 lbs (2 kg). This easily handles a Sony A7IV, Canon EOS R5, or Panasonic Lumix S5 paired with a standard zoom lens (like a 24-70mm f/2.8).
- Native Vertical Shooting: With the boom in TikTok, Instagram Reels, and YouTube Shorts, DJI engineered the RS 3 Mini to shoot vertically without needing extra accessories. You simply attach the quick-release plate to the vertical arm.
- Bluetooth Shutter Control: Say goodbye to annoying camera control cables. The RS 3 Mini connects via Bluetooth, allowing you to hit record directly from the gimbal’s handle.
🔥 Ready to upgrade your footage? Check the current price of the DJI RS 3 Mini on Amazon here.
How-To Guide: Balancing Your DJI RS 3 Mini in 3 Easy Steps
One of the biggest barriers to using a gimbal is the balancing process. Luckily, DJI has streamlined this. Here is how to get perfectly balanced footage in under two minutes:
- Mount and Lock: Attach your camera to the quick-release plate. Lock all three axes (tilt, roll, and pan) using the physical locking switches on the gimbal.
- Balance the Tilt Axis first: Unlock the tilt axis. Slide the camera forward or backward until it stays perfectly level when pointing straight ahead. Then, point the lens straight up at the ceiling and adjust the vertical arm until it stays put.
- Balance the Roll and Pan: Unlock the roll axis and slide it left or right until the camera sits flat. Finally, unlock the pan axis (the base), tilt the whole gimbal forward 45 degrees, and adjust the base until it doesn’t swing to either side.
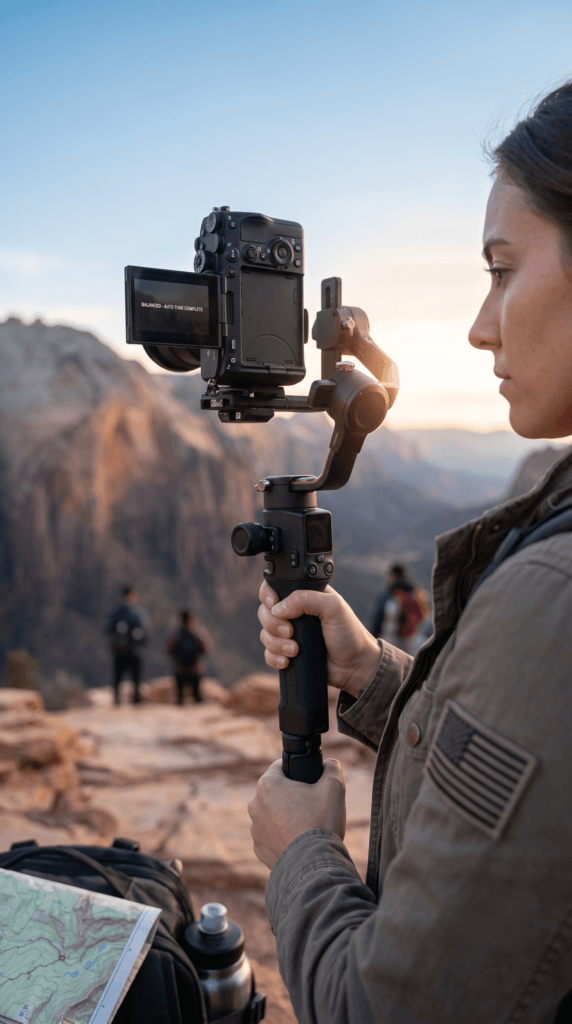
Pro Tip: Once physically balanced, use the 1.4-inch touchscreen to run the Auto Tune feature. The gimbal’s motors will automatically calibrate to your specific camera’s weight!

Comparison Guide: DJI RS 3 Mini vs. DJI RS 3
Should you buy the Mini or spring for the standard RS 3? Here is a quick breakdown to help you make the right choice for your workflow:
| Feature | DJI RS 3 Mini | DJI RS 3 (Standard) |
|---|---|---|
| Weight | 1.7 lbs (795g) | 2.8 lbs (1.3 kg) |
| Max Payload | 4.4 lbs (2 kg) | 6.6 lbs (3 kg) |
| Automated Axis Locks | No (Manual) | Yes |
| Best For | Travel vloggers, solo shooters, vertical video creators | Commercial videographers using heavier cinema lenses |
The Verdict: If you shoot on heavy cinema rigs (like a RED or an FX6), get the standard RS 3 or RS 3 Pro. But if you shoot on a standard mirrorless setup (Sony A7 series, Canon R series, Fuji, or Panasonic) and want to save your back while traveling, the RS 3 Mini is the undeniable winner.
Final Thoughts
The DJI RS 3 Mini proves that you don’t need to break the bank—or your back—to get Hollywood-level stabilization. With its native vertical mounting, flawless Bluetooth connectivity, and incredible payload-to-weight ratio, it is arguably the best everyday gimbal currently on the market for mirrorless shooters.
Don’t let shaky footage ruin your next shoot.
👉 Click here to grab your DJI RS 3 Mini on Amazon and start shooting smoother video today!